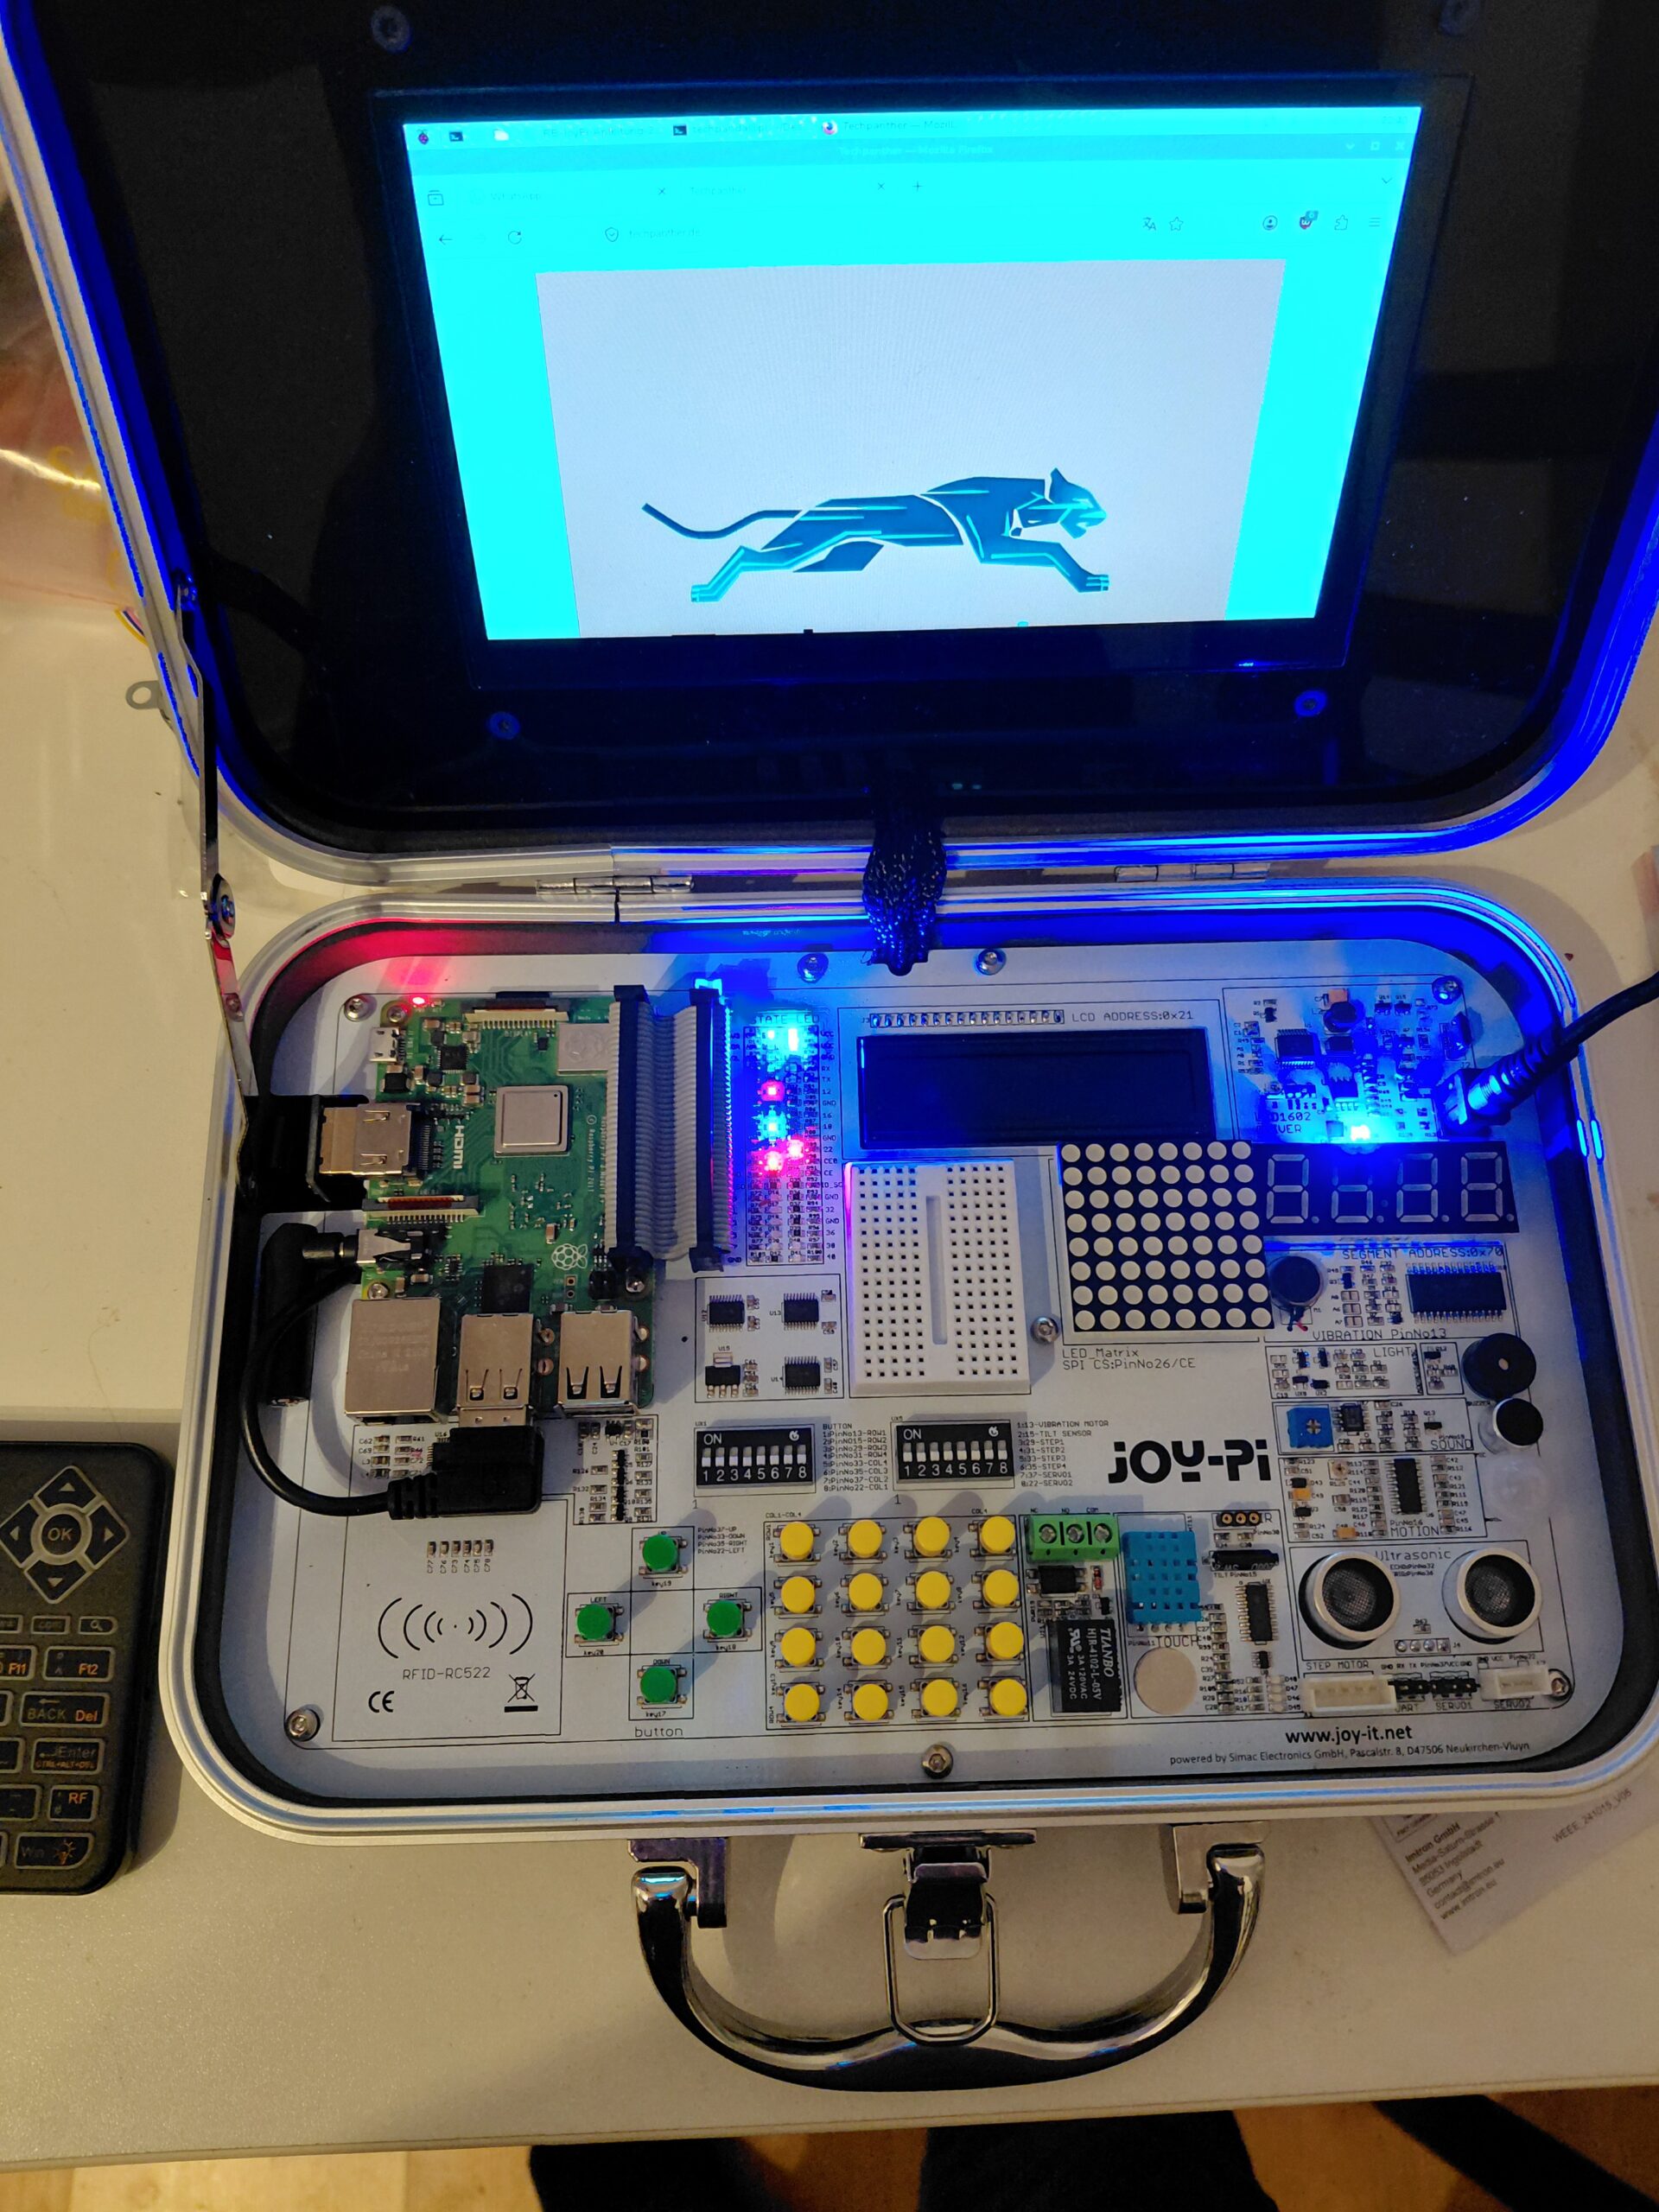
I was recently searching for accessories for my Raspberry Pi on Willhaben and found what I was looking for. I found the Joy-Pi experiment and starter kit. It’s a case with an HD touchscreen and lots of sensors and displays. Unfortunately, the kit itself only works with a Raspberry Pi that has a full-size HDMI port, so the Joy-Pi can only be used with Raspberry Pi models 2 and 3. I recently bought a new Raspberry Pi 3B+ myself, but installed the 2026 64-bit OS on it because the microSD card I use personally was originally intended for a 4B+ model. The surprise, however, was that the new operating system runs flawlessly and I had hardly any problems. So I built the Raspberry Pi into the Joy-Pi case myself and flashed the memory card using the Android app Drofus on my smartphone. The Joy-Pi, with all its components, can be turned on with a button on the power cord, and after that, I was immediately able to select the location, username, and language. The manual recommends using “Joy-Pi” as the username and “12345” as the password; this has the advantage that when installing the individual drivers, you’ll end up with the same file directory as described in the manual. The first few pages of the manual provide detailed instructions on how to install the drivers via the terminal. Although most of the hardware drivers are installed individually, they can usually be downloaded and installed in just one or two lines in the terminal. The only thing was that, since I had installed the new OS, I sometimes had to slightly modify the command inputs. This was the case, for example, when I needed administrator privileges for a command. Whenever I encountered incorrect commands, I often took a workaround: I took a photo of the terminal with my phone and used Google Gemini to get alternative input that was adapted for the new operating system and always worked flawlessly. After installing all the drivers, the manual provided a simple test procedure for each sensor and the display. I experimented with the code, which sometimes had to be adapted for the latest version of Python. I was able to test each individual sensor, and it’s fun to work with devices like these and learn how they work. The manual describes in detail exactly how to program each sensor. Every sensor, display, and camera works flawlessly, and I’m sure I’ll have a lot of fun with this. The only drawback, however, is that it’s difficult to program larger AI programs on the Raspberry Pi 3B+ with this hardware.
Leave a Reply